At some point in time, repointing brick steps is going to be on your to-do list. All types of masonry structures—from walkways to walls—need to be repointed over time. This is evident when the mortar, or joints running between bricks, begins to soften, fall out (spall), or weaken.
It’s important to repoint brick steps as soon as you notice mortar joint issues. Otherwise the pressure shifts onto bricks and damages steadily increase in size and cost to fix. Making just one or two mistakes when repointing brick steps can result in more harm than good. For instance, using replacement mortar that is stronger than the original mortar can put too much pressure on surrounding joints and lead to additional damages.
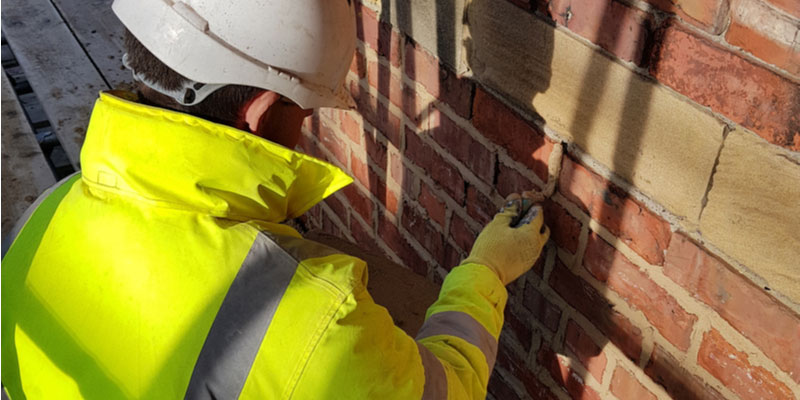
When you hire a professional to repoint brick steps they should follow a similar line up of steps outlined below to get the job done right.
1. First Thing’s First: Remove Old & Nasty Mortar
Mortar is supposed to break down over time because it takes on more pressure than surrounding bricks. When mortar becomes weak it softens and flakes off, at which point damaged portions must be removed before repairs can be made. The last thing you want to do is apply repairs over damaged mortar—that’s a recipe for disaster. A variety of tools, typically a chisel and mallet, can be used to chip away damaged mortar and prep the space for repairs.
2. Next: Clean it Up
Once affected mortar is removed to appropriate levels it’s time to clean up the nice little pocket you’ve created in the mortar. Clean out all dust and debris using a wire brush to remove residue trapped deep in joints. Professional masons keep several tools on hand to ensure the space is carefully cleaned out and prepped for success.
3. Research the Right Mortar for Repointing Brick Steps
Replacement mortar should match original mortar as closely as possible, not only in color but in structure and strength as well. The older a building the more difficult it is to create the exact mix. Historically there were no one-size-fits-all mortar recipes, and as a result, you’ll find an assortment of ingredients in the mortar on Toronto’s historic masonry buildings.
Luckily, us experts have access to testing kits that allow us to get a pretty good idea what mortar is made from and how strong it is, facilitating the creation of the closest match possible.
Our ability to successfully restore some of Toronto’s oldest building wouldn’t be possible without this capability.
4. Mix Mortar Then Apply with a Trowel
Just the right amount of moisture must be present for best results. Repointing is best done at certain times of the year when the weather is calm, not hot or cold, nor raining or snowing. A small amount of moisture is added to the cleaned-out section of mortar before the freshly mixed mortar is applied.
Before mortar is ever applied, it is thoroughly mixed to ensure smooth and even consistency. A tuck-pointing trowel is then used to apply fresh mortar inside of the joints. The space is packed tightly, flattened to perfection, and excess mortar is removed so the finished result looks as neat as possible.
5. For Best Results, Hire an Expert to Repoint Brick Stairs in Toronto
Turnbull Masonry’s longstanding reputation in Toronto has allowed us to restore and recreate some magnificent sets of brick stairs! We have the tools, experience, and knowledge to successfully complete projects of all shapes and sizes, including historic properties. Contact us today for a quote